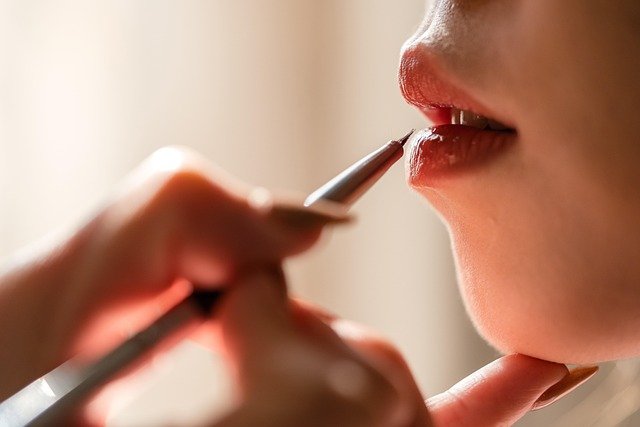
Let’s face it—flaky lips and bold lipstick are a disaster waiting to happen. But before you reach for needles or fancy plumping products, know this: the ultimate weapon for soft, smooth, kiss-ready lips is already in your beauty arsenal. We’re talking about the humble, yet powerful, lip scrub.
Now, don’t go overboard and start scrubbing like you’re sanding furniture. Lip exfoliation is all about finesse. When done correctly, a lip scrub polishes away dead skin, boosts hydration, and creates the perfect canvas for your favorite gloss, balm, or matte lipstick. Consider this your all-in-one guide to lip scrub mastery—from what it is, how to use it, and what to do next. Get ready to fall in love with your lips all over again.
What Exactly Is a Lip Scrub?
Think of a lip scrub as the facial exfoliator’s cooler, sassier cousin. It’s a blend of gentle exfoliants—usually sugar or other finely milled textures—mixed with nourishing ingredients like oils and butter. Together, they work to remove dry, dead skin cells and reveal that baby-soft pout hiding underneath.
The goal? Silky-smooth lips that don’t just look good, but feel amazing. Whether your lipstick’s been clinging to cracks or your lips feel rough and parched, a quick scrub can be a total glow-up in under a minute. Just remember: not all lip scrubs are created equal. Skip anything with artificial fragrance or strong essential oils that can irritate your delicate skin. Instead, opt for natural goodies like honey, coconut oil, shea butter, and vitamin E.
How to Use a Lip Scrub (The Right Way)
Using a lip scrub is more of an art than a science. It’s not about aggression—it’s about gentle intention. Here’s how to do it properly:
Step 1: Start with a Clean Slate
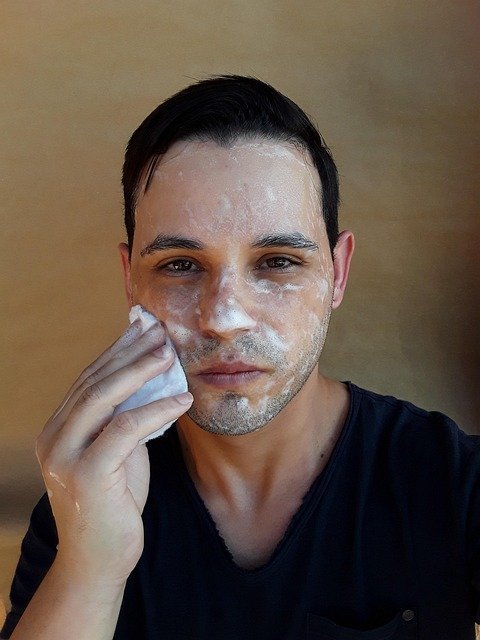
First things first, remove any lip product or leftover makeup. A damp cotton pad or micellar water will do just fine. You want a fresh surface before scrubbing.
Step 2: Apply the Scrub
Take a small amount of scrub (think pea-sized) and gently massage it onto damp lips in small, circular motions. The keyword here is gentle—no need to press hard. Let the sugar crystals or exfoliating bits do the work.
Step 3: Let It Soak In (Optional but Luxe)
If your scrub contains oils or butter, let it sit for 30–60 seconds. This allows all those nourishing ingredients to sink in and give your lips an extra boost of hydration.
Step 4: Wipe or Rinse Off
Use lukewarm water or a soft, damp cloth to remove the scrub. No aggressive rubbing—just a soft sweep to reveal those freshly polished lips underneath.
Step 5: Hydrate, Hydrate, Hydrate
Seal in all that smoothness with a rich lip balm or oil. This step is not optional. Just like you moisturize after exfoliating your face, your lips need that post-scrub TLC to stay soft and supple.
Aftercare: What to Do After You Exfoliate
So you’ve buffed your way to velvety lips—now what? Here’s how to keep your pout in peak condition:
1. Lock in Moisture
Immediately apply a lip balm loaded with hydrating heroes like hyaluronic acid, vitamin E, or shea butter. This prevents your freshly exfoliated lips from drying out and keeps them feeling plump and pillowy.
2. Give Them a Breather
Hold off on applying bold lipsticks—especially matte or long-wear formulas—for at least 15-20 minutes. Let your lips drink in that balm. If you need color, opt for a tinted balm or creamy lipstick instead of something drying.
3. Protect Against the Sun
Your lips are extra sensitive after exfoliation, which makes sun protection crucial. A lip balm with SPF 30 or higher is your best friend. Trust us—sunburned lips are not the vibe.
4. Don’t Overdo It
Exfoliating every day might seem like the fast track to soft lips, but in reality, it can cause more harm than good. Stick to 2–3 times per week. Over-scrubbing leads to irritation, sensitivity, and even peeling. The goal is softness, not soreness.
Ingredients to Look For (and Avoid)
When choosing the perfect lip scrub, ingredients make all the difference. Look for:
- Sugar – Gentle and effective for sloughing away dead skin.
- Coconut oil – Deeply hydrating and naturally antibacterial.
- Shea butter – Soothes and softens with rich moisture.
- Honey – A natural humectant that attracts and retains moisture.
Avoid:
- Synthetic fragrances
- Harsh essential oils (like peppermint or citrus)
- Parabens and drying alcohols
These can be irritating, especially if your lips are already cracked or sensitive.
DIY Bonus: Make Your Lip Scrub
Want to keep things simple and natural? Make your scrub at home in seconds. Here’s a quick recipe:
DIY Lip Scrub
- 1 tsp sugar (brown or white)
- 1/2 tsp honey
- 1/2 tsp coconut oil
Mix in a small bowl and apply as you would a store-bought scrub. Bonus points if you keep it in a cute little jar for future use!
Final Thoughts: Smooth Lips Are Just a Scrub Away
A silky, flake-free pout isn’t about spending hours in front of the mirror—it’s about the little steps that make a big difference. With a good lip scrub and a little consistency, you’ll never have to deal with lipstick clinging to dry patches again.
So next time your lips feel rough, remember: to exfoliate gently, hydrate generously, and scrub smart. Your lips will look (and feel) better than ever—and yes, they’ll be ready for that close-up, kiss, or lipstick selfie anytime.
Quick Recap: Lip Scrub 101
- Use 2–3 times a week
- Always follow with a hydrating balm
- Be gentle—no harsh scrubbing
- Protect with SPF if heading outdoors
- Let lips rest before applying makeup
Ready to flaunt your freshest, most fabulous lips ever? Get scrubbing!
