If there’s one beauty technique that’s revolutionized the way we enhance our features, it’s contouring. Once a red-carpet-only secret known to a few celebrity makeup artists, contouring has gone mainstream — thanks to icons like Kim Kardashian, Jennifer Lopez, and more recently, Zendaya, who have turned the chiseled cheekbone into a beauty essential.
But before you get overwhelmed by dramatic tutorials and bold Instagram transformations, let’s break it down. Contouring is far from intimidating once you understand its purpose: using makeup to mimic natural shadows on the face, enhancing your bone structure, and giving definition where you want it most.
Whether you’re aiming for a subtle daytime sculpt or a high-drama evening glam, contouring can be your best friend — once you master the fundamentals.
What Is Contouring?
At its core, contouring is all about playing with light and shadow. It involves using makeup that’s slightly darker than your skin tone to create the illusion of depth and structure — making cheekbones pop, noses appear more refined, and jawlines more defined. It’s the closest thing makeup gets to Photoshop.
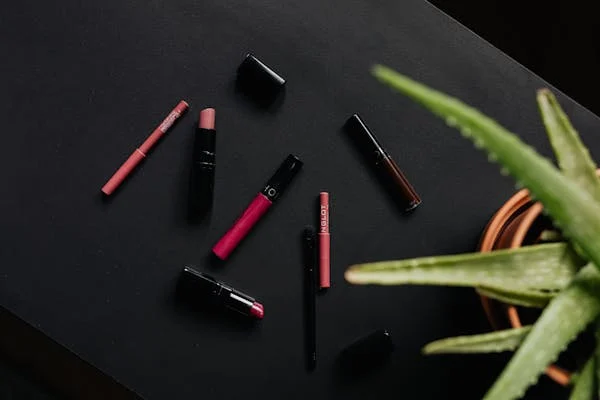
Available in powders, creams, balms, and gels, contouring products are designed to blend seamlessly into your foundation while shaping your face. Many beginners confuse contour with bronzer, but they serve very different roles. While bronzer adds warmth and gives a sun-kissed glow, contour is strictly about sculpting.
Contour vs. Bronzer: What’s the Difference?
Let’s clear this up once and for all.
Contour products typically come in matte, cool or neutral tones, designed to replicate the natural shadows of your face. They’re applied to specific zones — under cheekbones, along the jawline, and down the sides of the nose — to bring dimension and definition.
Bronzers, on the other hand, are warmer-toned and often have a bit of shimmer. They’re meant to mimic the effect of sunlight hitting the face, giving you a radiant, golden-hour glow. You apply bronzer to the high points of the face — temples, cheeks, nose bridge — where the sun naturally hits.
So, contour sculpts bronzer warms. Simple.
Cream vs. Powder Contour: Which One’s for You?
The choice between cream and powder contour depends on your skin type, experience, and desired finish.
- Cream contour is ideal for dry or normal skin. It melts into the skin, offering a natural, dewy finish. Great for beginners, it’s easy to blend and build without harsh lines.
- Powder contour works best for oily or combination skin types. It provides a matte finish and tends to stay put longer, making it perfect for those who prefer more control or a polished, editorial look.
Pro Tip: Combine both for maximum impact — use cream as a base and set with powder for a sculpted effect that lasts all day.
How to Contour: Step-by-Step Guide
Want to contour like a pro without the fuss? Follow these simple steps:
1. Choose the Right Shade
Stick to a contour that’s 1–2 shades darker than your foundation. Avoid anything too orange or warm — you’re sculpting, not bronzing. Look for cooler, taupe-based tones to mimic real shadows.
2. Pick Your Product Texture
- Go for creams if you’re after a hydrated, natural finish.
- Choose powders if you want control and longevity.
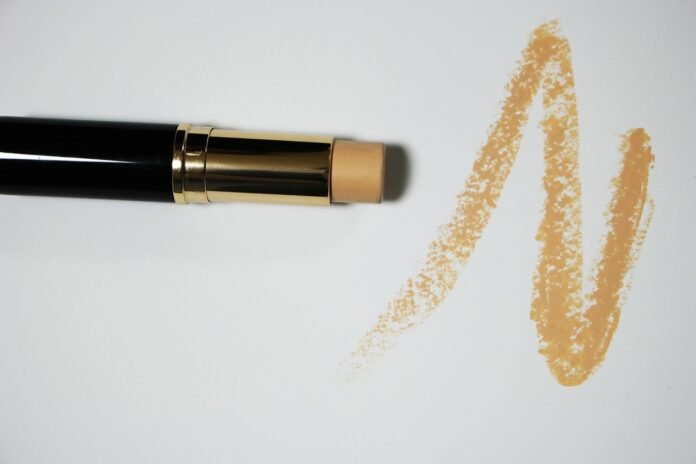
- Beginners might find stick or cream contours easier to work with.
3. Map Your Face
Apply contour to the areas where shadows naturally fall:
- Under your cheekbones (just below where your blush would go)
- Along the jawline
- On the sides of your nose
- Around the edges of your forehead
4. Blend, Blend, Blend
This is where the magic happens. Use a damp beauty sponge or a contour brush to blend out harsh lines until the contour melts into your skin. Blending is the key to keeping it natural.
5. Highlight Strategically
To complete the look, add a touch of highlighter to the tops of your cheekbones, the bridge of the nose, and cupid’s bow. This contrast will enhance the shadow and bring your contour to life.
Pro Tips for Effortless Contouring
- Less is more: Start with a small amount of product and build gradually.
- Tape trick: Use a piece of sellotape to line up your contour for razor-sharp cheekbones.
- Lighting matters: Always contour in natural light if possible. It gives you the clearest view of how your makeup is reading on your skin.
- Face shape counts: Tailor your contour to your face. Round faces may benefit from contouring the sides of the forehead and jawline; oval faces should focus on cheekbones.
Contour for Every Face Shape
Every face is different, and so is the way you contour it:
- Round face: Focus on the temples, sides of the forehead, and under the jaw to create angles.
- Square face: Soften edges by contouring around the jaw and temples.
- Oval face: Enhance cheekbones and slim the sides of the nose.
- Heart-shaped face: Add depth to the sides of the forehead and temples while softening the chin.
Final Thoughts: Contour with Confidence
Contouring isn’t just a trend — it’s a technique. And once you get the hang of it, it can transform your makeup routine. Whether you’re prepping for a special event or simply want to add subtle definition to your everyday look, contouring gives you the power to enhance your natural beauty on your terms.
The trick isn’t in going bold — it’s in understanding your face, choosing the right products, and blending like a dream. So grab your brush (or sponge), find your perfect shade, and sculpt away. Your cheekbones are waiting.
FAQs
What is contouring?
Contouring is a makeup technique that adds structure to your face using darker and lighter shades to simulate natural shadows and highlights.
How do I contour for beginners?
Use a contour product slightly darker than your skin tone. Apply under cheekbones, jawline, and nose, then blend thoroughly with a brush or sponge.
Can I use both contour and bronzer?
Yes! Contour first to sculpt, then apply bronzer for warmth and glow.
Which is better — cream or powder contour?
Creams are great for dry skin and a natural finish; powders are better for oily skin and more defined looks.
How often should I contour?
As often as you like! Go subtle for everyday wear or turn up the drama for special occasions.
