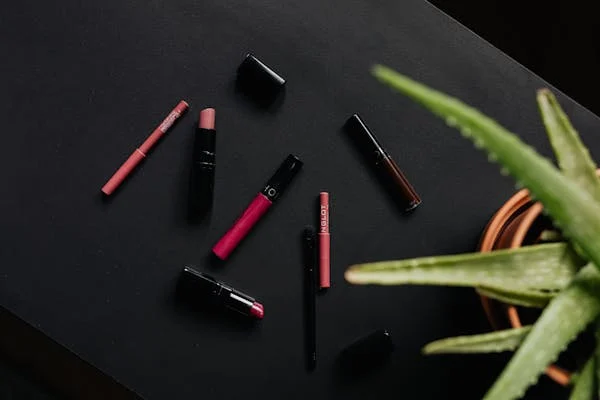
Highlighter might not be the newest trend in the beauty world, but it’s certainly one of the most magical. That soft gleam on the cheekbone, the barely-there shimmer on the nose bridge, the glisten on the cupid’s bow — it’s that “lit-from-within” glow that has carved out a permanent spot in every beauty lover’s routine. And with the wide array of formulas now available — from creamy balms to pressed powders — highlighters have become an indispensable tool in transforming your makeup from flat to fabulous.
So if you’re ready to light up your look and step into the glow zone, this guide will show you everything you need to know — from picking the perfect product to the art of precise application. Let’s glow!
What Is a Highlighter and Why Should You Use One?
Think of a highlighter as the spotlight for your face. Its main job is to draw attention to your features by enhancing the areas where light naturally hits — creating the illusion of depth and structure. Whether you’re wearing a full-coverage foundation or a skin tint for a no-makeup makeup day, a well-placed swipe of highlighter adds that radiant, healthy finish we all chase.
But beyond just a pretty sparkle, highlighters help define your bone structure, give the skin a dewy finish, and create balance when paired with contouring products.
Types of Highlighters: What’s Your Texture Match?
With highlighters coming in various forms, knowing which suits your skin type and lifestyle can elevate your entire beauty game.
- Cream Highlighters
- Perfect for dry or dull skin, cream highlighters glide on smoothly and are often packed with moisturizing ingredients. Ideal for a soft, dewy glow, they work beautifully on bare skin or layered over cream foundations.
- Liquid Highlighters
- Want that subtle glow-from-within effect? Liquid formulas are your best bet. They melt into the skin, offering a luminous, skin-like finish. Mix a drop with a foundation for all-over radiance or dab on targeted areas for that sheer sparkle.
- Stick Highlighters
- Great for on-the-go beauty lovers, stick highlighters offer precision, portability, and ease of use. Just swipe and blend. They’re ideal for touch-ups at work, during travel, or even mid-concert!
- Pressed Powder Highlighters
- A classic and popular choice, especially for oily skin types. These highly pigmented formulas are buildable and blendable, delivering instant impact with minimal effort.
- Brick Highlighters
- These multi-shade compacts bring together different tones and finishes in one palette. Perfect for makeup enthusiasts and professionals, they offer versatility and dimension, adapting to different moods and occasions.
Choosing the Right Formula for You
So which one’s for you?
- For dry or mature skin: Go for cream or liquid highlighters. They hydrate and blend effortlessly without clinging to dry patches.
- For oily or combination skin: Stick with powder or pressed highlighters for a shine that looks intentional, not greasy.
- For beginners: Powder highlighters are more forgiving and easier to control. They also let you build up gradually without overwhelming the look.
And when it comes to shades, always opt for a highlighter one to two tones lighter than your skin. Think champagne, pearl, or rose gold for fair to medium skin; bronze or copper for deeper tones.
Where to Apply Highlighter for Maximum Impact
The goal? Catch the light just right. Apply highlighter on the high points of your face— areas that naturally reflect light.
- Cheekbones: The go-to zone. Highlighting this area lifts the face and adds a sculpted finish.
- Bridge and Tip of Nose: This gives your nose a subtle definition and an overall glow.
- Cupid’s Bow: A dab here makes your lips appear fuller and more defined.
- Brow Bone: Just under the arch, this opens up the eyes and adds lift to your brow.
- Inner Corners of Eyes: A pop of shimmer here instantly wakes up tired eyes.
- Center of Eyelids: For a simple yet stunning eye look, apply a highlighter to the center for a halo effect.
- Chin: A touch here balances out the glow across your face for harmony.
Bonus tip: Going out in an off-shoulder or deep-cut outfit? Swipe some highlighter across your collarbones and shoulders for a stunning body shimmer. Even your legs can get a touch of glow for that red-carpet-ready finish.
How to Apply Highlighter Like a Pro
To get that seamless glow, the key is in the prep and layering:
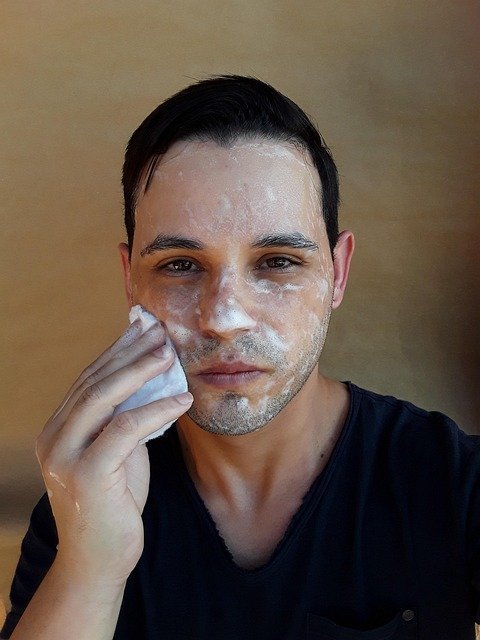
- Cleanse: Start with a clean slate. Washing your face ensures better product absorption.
- Hydrate: A good moisturizer and primer set the perfect canvas for makeup.
- Base First: Apply your base — foundation, concealer, contour, cream blush. Cream or liquid highlighter comes at this stage before setting powder.
- Powder Last: If you’re using a powder highlighter, make sure to apply it only after setting your makeup to avoid cakiness or creasing.
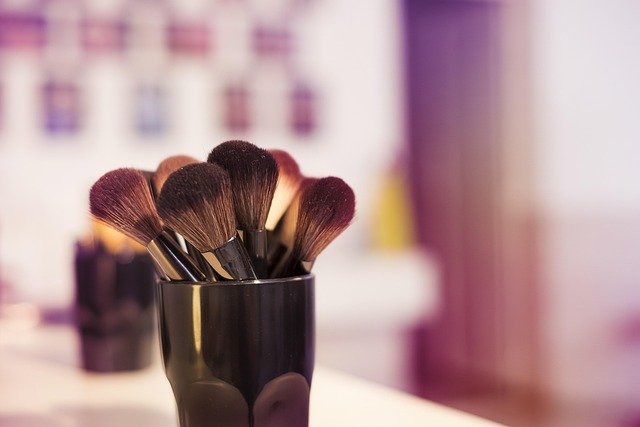
- Blend: Use your fingers, a brush, or a damp sponge — but whatever you use, blend well. No harsh lines. The goal is a soft, diffused glow.
- Set It: Lock it all in with a setting spray. It’ll keep the shine in place and your glow going all day.
Final Thoughts: Your Glow, Your Rules
A perfectly placed highlighter can take your look from basic to breathtaking. Whether you’re heading out for brunch, attending a wedding, or just want to look radiant on a regular day, this one product can seriously up your glow game.
The trick is to find the right formula for your skin, understand where the light hits naturally, and blend, blend, blend. It’s not about looking glittery — it’s about radiating confidence.
So, next time someone asks how you got your skin to look that good, just smile and say, “It’s the light.” ✨
Glow Tip to Remember: Start small and build. A little shimmer goes a long way, and the best glow is the one that looks like it’s coming from you.
